

So you’ve fallen down the junk journaling rabbit hole — welcome! If you’ve been pinning gorgeous spread after gorgeous spread and thinking “I could never make something that beautiful,” this post is going to change your mind completely. Making your first junk journal is so much easier than it looks, and today I’m going to walk you through every single step.
“What is Junk Journaling” blog post for anyone who needs a primer first.

WHAT YOU’LL NEED (Check out this post for the ultimate list)
- Cardstock or chipboard for covers
- Mixed papers for pages (junk mail, book pages, tissue paper — link to last week’s email tip!)
- Bone folder
- Awl or thick needle
- Waxed thread or twine
- Scissors and/or paper trimmer
- Glue stick or matte medium
- Your free Junk Journal Sampler Kit! (Grab it here)
STEP 1 — CHOOSE YOUR COVER
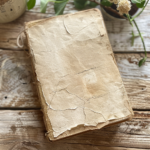
Your cover is the soul of your journal. For beginners, thick cardstock folded in half is perfect. You can also repurpose a cereal box, an old book cover, or a manila folder. Cut to your desired size — a good beginner size is 5.5″ x 8.5″ (half a letter page). Distress the edges with sandpaper or ink for that beautiful vintage look.
STEP 2 — PREPARE YOUR PAGES
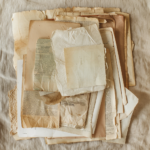
This is where the magic happens! Gather your mixed papers and cut or tear them to size — slightly smaller than your cover so they tuck inside neatly. Don’t worry about them being perfectly even. Variation in size is part of the charm! Aim for 20-30 pages to start. (Check out our tea dying tutorial here).
STEP 3 — CREATE YOUR SIGNATURES
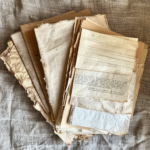
A signature is simply a small folded bundle of pages. Fold your pages in groups of 4-5 and nest them together. You’ll sew these together and then attach them to your cover. Most beginners start with 3-4 signatures which gives you a nice chunky journal.
STEP 4 — BIND YOUR JOURNAL The simplest binding for beginners is a pamphlet stitch:
- Stack your signatures inside your cover
- Use your awl to poke 3 holes along the spine — top, middle and bottom
- Thread your needle with waxed thread
- Sew through the middle hole from outside to inside
- Come back out through the top hole
- Back in through the bottom hole
- Back out through the middle — tie off and trim
That’s it! Your journal is bound. 🌸
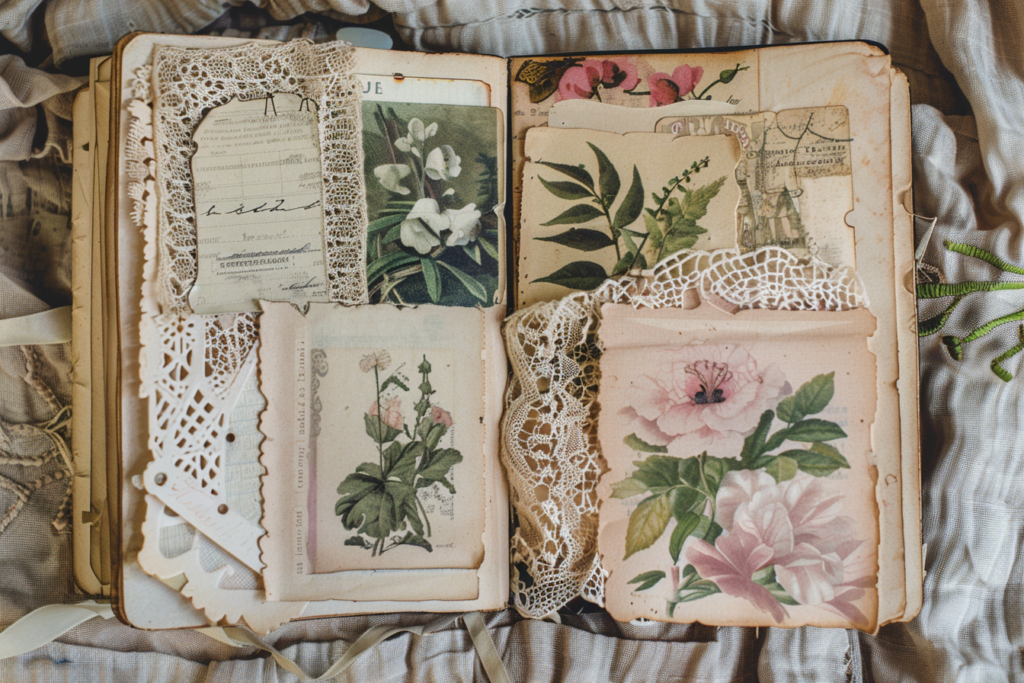
STEP 5 — DECORATE YOUR COVER

Now for the really fun part! Layer your papers, ephemera and embellishments onto your cover. Use your pages from the free Honey Bloom Sampler Kit as a starting point — the background papers make stunning cover layers and the fussy cut sheet gives you instant beautiful imagery to work with.
STEP 6 — CREATE YOUR FIRST SPREAD
Open to your first set of pages and start layering! There are no rules here — just play. Start with a background paper, add a torn layer on top, then tuck in some ephemera, a tag, maybe a stamped image. Build up slowly and step back often.
Ready to start your first junk journal? Grab your free Honey Bloom Junk Journal Sampler Kit — 12 pages of vintage shabby chic printables to get you started beautifully. It’s completely free!” Download your free kit here
And if you want to take your pages to the next level, browse the full collection of printable junk journal kits in the Honey Bloom Etsy shop — don’t forget your VIP discount code! (available with your free kit)🌸